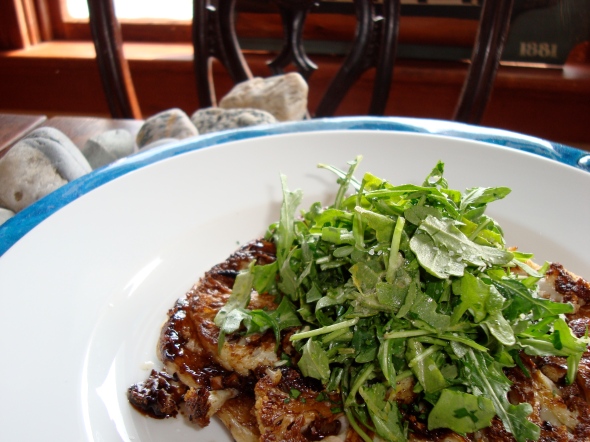
Cauliflower Tarte Tatin
Posted: February 17, 2011 Filed under: Uncategorized | Tags: appetizer, arugula, cauliflower, tart, vegetarian 2 Comments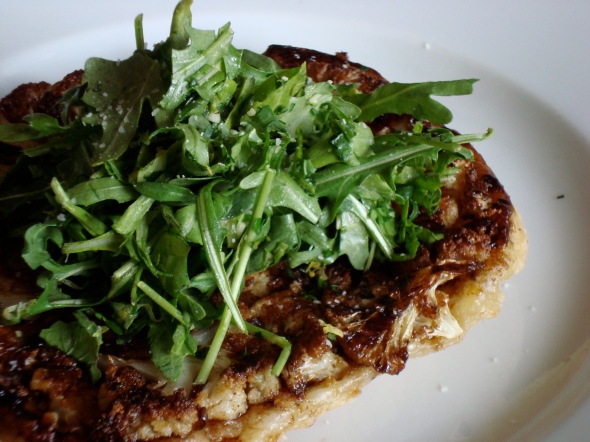 Last night I had another food vision, actually, to be fair, I was dreaming about a piece of cauliflower pizza from GranDaisy Bakery and wondering if I could figure out how to make it. I quickly gave up figuring and think I will wait for a piece of the real thing when I get to New York. Then I started thinking about what else I could do with the half cauliflower in my fridge… and thought of doing a cauliflower tarte tatin – and then wondered how I get the flavor, the caramelization without being too sweet, etc…. . It turned out really good but I’m sure I’ll tweak it anyway!!!
Here’s what I did:
Cauliflower Tarte Tatin with Chopped Arugula Salad
Tart:
- 2 shallots, sliced
- 2 TB olive oil
- 1/2 head of cauliflower cut into flat slices and the extra little pieces crumbled into little pieces.1 clove of garlic minced
- 1 tsp honey
- 1 TB balsamic vinegar
- puff pastry
- Select a small pan that is oven safe – about six to 8 inches on the bottom.
- Saute the shallots in oil until they are wilted and just starting to brown – remove from pan and set aside
- Add more oil if needed and add the cauliflower, flat sides down in one layer – put all little bits over top so that they fill in the holes. Saute until you see a little brown on the edges
- Cover with a lid for a couple of minutes to steam the cauliflower.
- Uncover and add garlic – saute until you can smell the garlic a little
- Add the honey around the edges and the balsamic drizzled all around
- Put the puff pastry over top and place the whole pan in the oven for 20-25 minutes (400)
Salad:
- 1 handful of arugula – roughly chopped
- 1 tb parsley chopped
- 1/2 clove garlic minced
- 1/2 zest of lemon
- 1/2 juice of lemon
- shaved Parmesan
- salt & pepper to taste
Toss all together and place on top of cauliflower tart!!
Genoise with White Chocolate Passion Fruit Buttercream
Posted: February 12, 2011 Filed under: Uncategorized | Tags: buttercream, cake, dessert, passion fruit 2 Comments
Cooking School Resurfaces……
I made this yesterday – it’s good, but I’m never 100% happy with cakes – I guess If I made them everyday I would work out the kinks – such as – this one needed a fruit filling – raspberry jam would have been good. Also Genoise usually needs to be brushed with sugar syrup because it’s a pretty dry cake – the recipe I read said that it would be moist from extra egg yolks – but that wasn’t the case!
Also, I’m pretty useless with piping tips – and I only had orange coloring – not a nice orange either… I made two cakes – one two layer round cake and one three layer square cake – I definitely like the square cake best –
I’m not giving you the recipe for the cake, you can use any recipe you want – But heres the recipe for the buttercream… which I love – remember to hit all the right temperatures – take your time or it will separate – which is fixable, but a pain in the ass!
By the way – I’m really not a fan of white chocolate, however, white chocolate buttercream is really good – I don’t know why – it’s just a nice combo of flavors and you would never guess it was white chocolate you were tasting – add passionfruit and it’s a great balance of sweet and a little tart.
Sheet cake:
Frosting the round cake – here’s a good tip – first of all, start at the top and push the frosting off to the sides – also, don’t try to make the first layer perfect – it’s called a crumb layer – if you get a few crumbs it’s ok – make it pretty neat and put it in the fridge for five minutes, then do the same thing again to get a pretty finish – also if you want it even neater – put it back in the fridge for 15 minutes or so – and run a hot offset spatula all the way around -keep in mind that buttercream never looks as neat as fondant (which tastes like crap anyway)
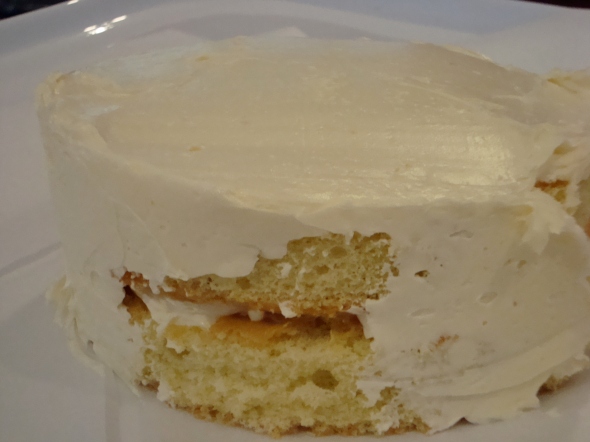
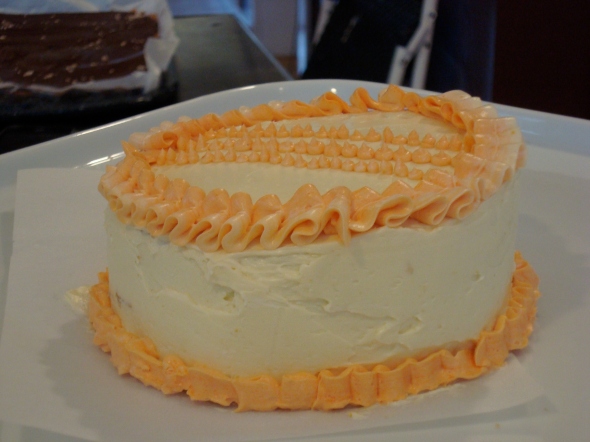
I don’t really want to show the finished product – but in the spirit of full disclosure…. I told you it was a bad orange – I should stick to dots – I do those pretty well!
Here’s the prettier of the two – I wanted to fill the entire top with the flowers but ran out of frosting! Those flowers were a new thing for me – they worked pretty well… It’s a little wedding cakey… but if I had more colors I could make it look really pretty!
White Chocolate Passion Fruit Butter Cream –
3/4 c passion fruit puree – you can get this from fancy food distributors, but it’s also sold by Goya – usually in the small latin foods section of frozen foods.
8 oz white chocolate chips
1 1/4 lbs unsalted butter
5 large egg whites
1 c sugar
1 tsp vanilla
- Put passion fruit puree in a pot and reduce by half – remove from heat, add the white chocolate and stir to melt – return to the heat if needed. Put aside to cool.
- Allow butter to come to room temperature – that’s sort of soft, not nearly melted – and cut into large chunks
- Fill a pot with a few inches of water and bring to a simmer
- Put egg whites and sugar in the bowl of an electric mixer – whisk to combine
- Put the bowl of egg whites and sugar over the simmering water and whisk constantly until mixture reaches approximately 160.
- Now place the bowl in the mixer (with the whisk attachment) and whisk on high until the meringue (egg and sugar mixture) is cool – this can take up to ten minutes.
- Switch to the paddle attachment – if you don’t have it – just stay with the whisk attachment.
- When the meringue is shiny and cool, start adding the butter – add 1 piece at a time – I squeeze each piece through my fingers to make sure that it’s soft throughout – make sure that each piece is pretty well incorporated before adding another piece – add the rest of the butter. Keep the mixer on high medium.
- AT Add the vanilla and the passion fruit white chocolate mixture – mix – scrape down sides and mix again.
There are lots of ways to fix a broken buttercream -first try beating the mixture for a while – longer than you would think to – usually it will come back together.
Sometimes it will break if the butter melts , this happens when the meringue wasn’t completely cooled – fill a bowl with ice and a little water and maneuver it under the mixing bowl – keep the speed on medium and keep scraping down the sides.
If the mixture is too cold you can keep running the machine on high – usually the friction will warm things up enough to bring it all back together –
Mujadhara….Lentils and Rice
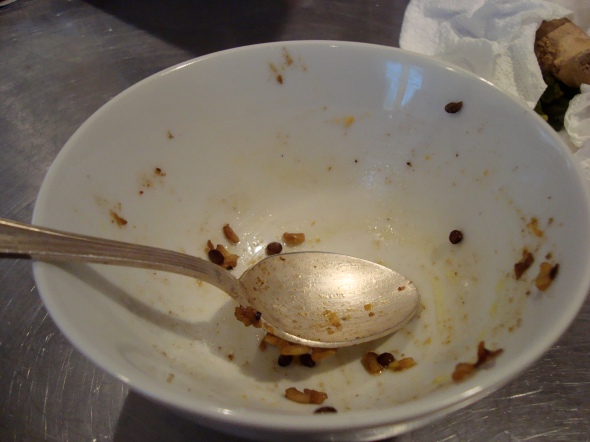
Posted: February 8, 2011 Filed under: Uncategorized | Tags: lentils, rice, vegan, vegetarian Leave a commentThis is another one of those recipes/dishes that is so much better than you would ever guess. My bowl looks like this shortly after I fill it….. I feel like the Cookie Monster… mmmmm…mmmmm….mmmm….mmmmm…..
Here’s my recipe -and trust me, there is a lot of room for interpretation.
1 1/2 onions – sliced and sauted in canola oil until browned (not caramelized) – just shy of being being burnt.
2 tsp Garam Masala or Cumin or Cinnamon, Coriander, Curry, Biryani Spices (I used this last night)… etc….
2 TBL Canola oil or Ghee
3/4 C black lentils
1 C Basmati Rice (I used brown basmati)
1 C Chicken Broth (this could easily be omitted to make it vegetarian – and vegan!)
Salt
This is a slightly unusual cooking method…
1. Combine lentils with 1 tsp of the spice mix and about 2 cups of water – bring to a boil and cook for ten minutes – after ten minutes drain the lentils – they will be partially cooked.
2. In another pot heat the oil/ghee and add the remaining 1 tsp of spice mix – saute for a few seconds – add about 1 TBL of the browned onions and the rice.
3. Stir to combine and toast the rice a little bit.
4. Add the appropriate amount of liquid to the rice – including the chicken broth in the amount (the brown rice was 2 1/4 c liquid to 1 c rice).
5. Bring this to a boil, lower the heat and cover – cook for 20 minutes.
6. Add the lentils and about 1/4 c of water & about 1/2 tsp of salt- cover and cook for an additional 15 minutes. If the mixture isn’t finished, just cover and cook an additional five minutes (you probably don’t even need to have the pot over a flame at this point).
7. Serve topped with the browned onions – many recipes also say to top with yogurt and chopped cucumbers and tomatoes – I just added a little more salt and some hot sauce and ate away.
It really is good – would be great with salmon on top or chicken…. or maybe with some cilantro and chicken in a taco…. or lamb…or………
Here’s a bowl before I got my piggy hands on it…
Friday Dinner at Home
Posted: February 4, 2011 Filed under: Uncategorized | Tags: cauliflower, comfort, dinner, easy dinner, pasta, vegetarian 2 CommentsMy Favorite… (one of the many!)… Pasta with Cauliflower and Toasted Bread (Croutons, Shards, etc…)
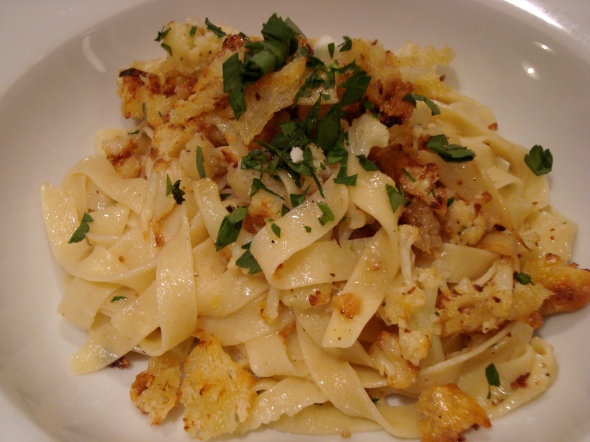
I made pasta tonight – which is rare – and I have to tell you I never prep everything ahead of time – I just chop and go and throw stuff in the pan a little crazily- but I was feeling particularly patient (bored) tonight and thought I’d take some time to practice my food pics…
The Ingredients….
Here’s the recipe –
1/2 Head of Cauliflower – cut into small florets
2 Cloves Garlic – minced
1 pinch chili flakes
1 Lemon Zest and Juice
1 handful of parsley – chopped
1-2 Cups of bread – shredded (here’s a pic of the size)
1/2 – 3/4 lb Pasta – fresh/dry – whatever shape you want
Olive Oil
Salt & Pepper
Boiling Water
Add ons –
Cheese – Anchovies – Sausage – Butternut Squash – Shrimp….
1. Toast the bread in olive oil – put aside for later use.
2. Cook the cauliflower in olive oil – saute and then cover for a few minutes to steam a little bit
3. Cook the pasta
4. When past is almost done add garlic and chili flakes to cauliflower – saute for 30 seconds – add lemon zest and lemon juice.
5. Drain pasta (keep about 1/2 c of cooking water to add to the cauliflower)
6. Add pasta to cauliflower and add a little left over pasta water – cook over med heat for a minute or two.
7. Salt and Pepper to taste
7. Add Bread and parsley
Top with cheese….
Serve – Yum!!!
